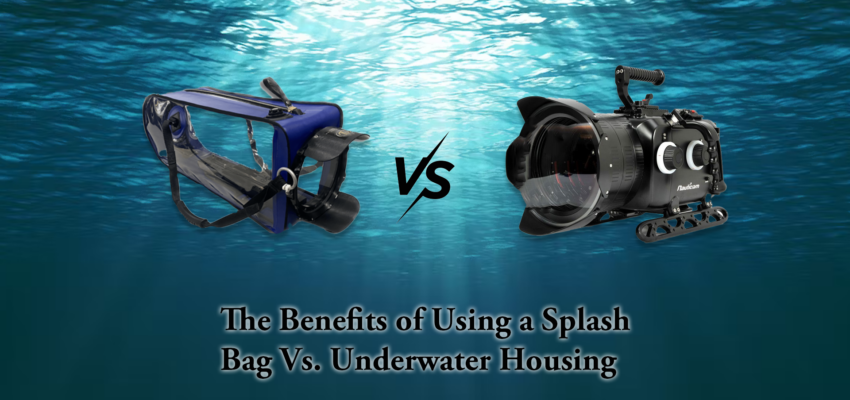
Choosing the right camera equipment can make or break your day on set. When you add water to the mix, you must also consider how you are going to keep the equipment safe. This post delves into the advantages of utilizing Splash Bags and Underwater Housings, the differences between them, and when to use one over the other.
Understanding Splash Bags and Underwater Housings
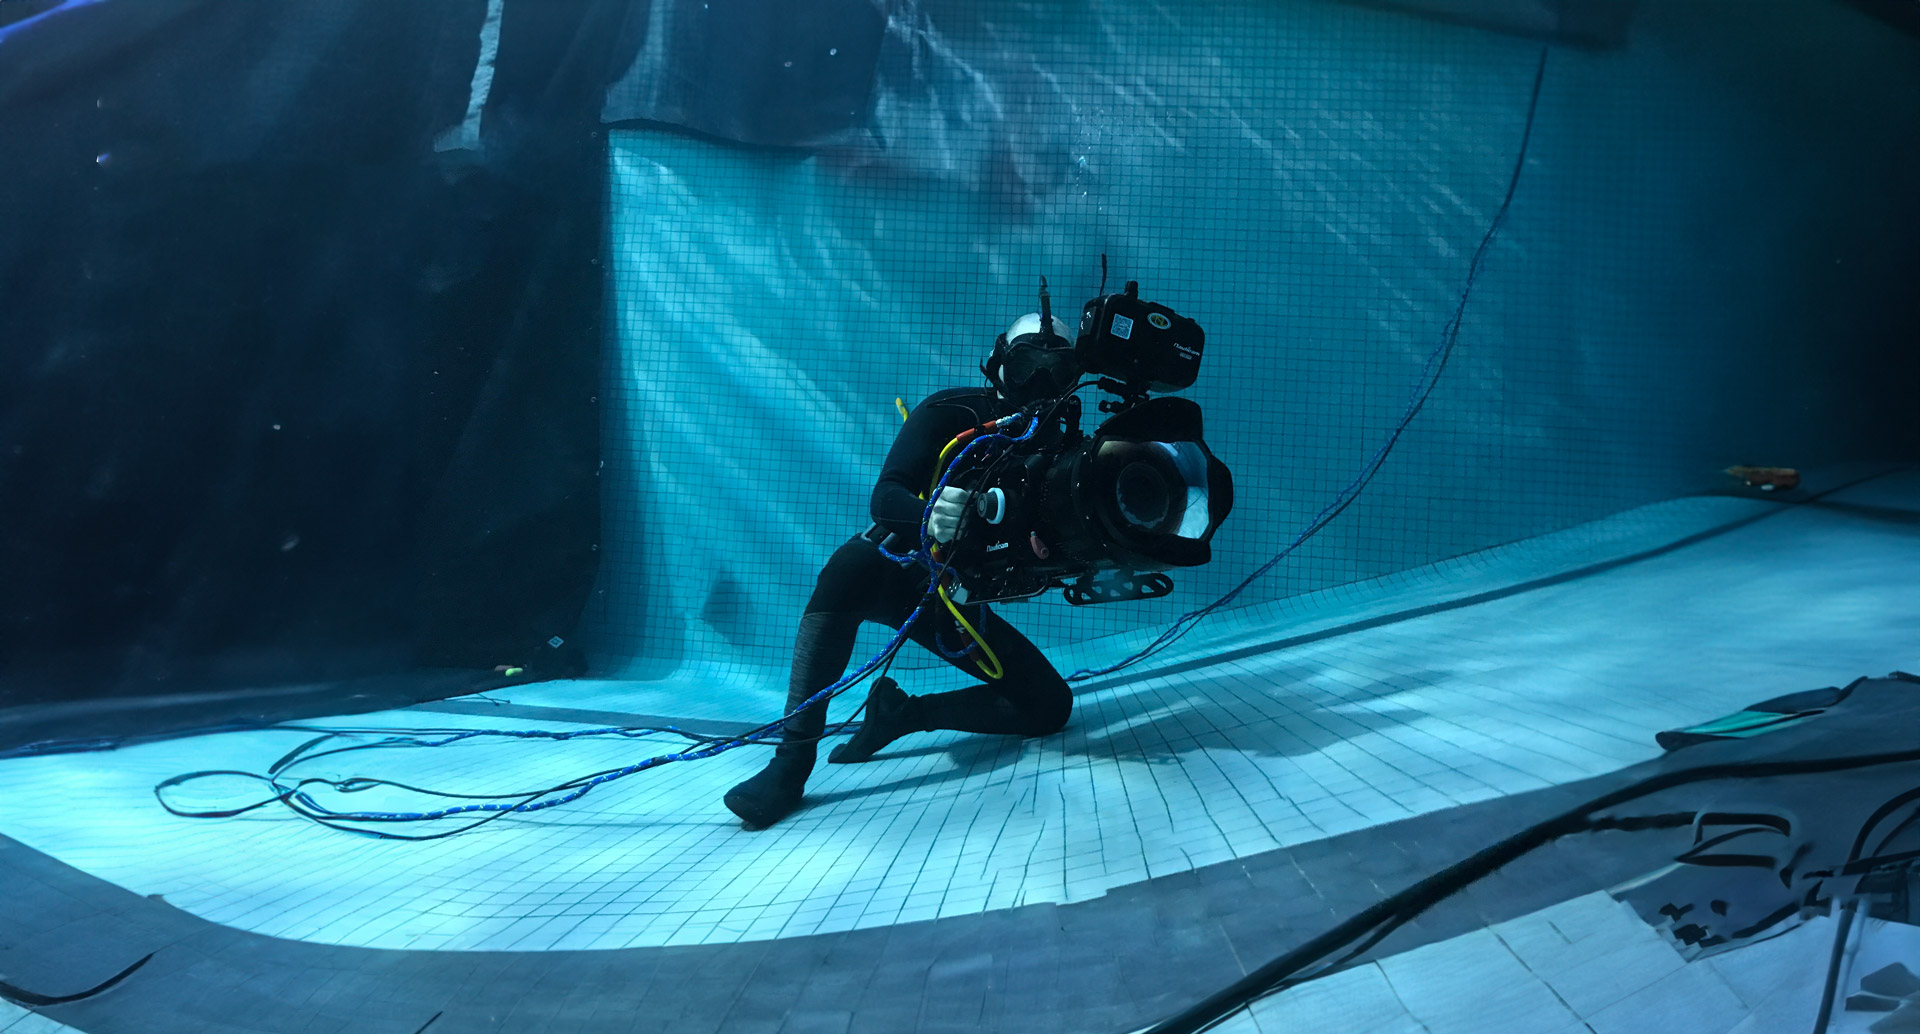
Since cameras are not waterproof, we need a way to keep cameras safe on set when water is involved. Splash bags are used to cover a camera when there is exposure to water and splashes on set. They are great for shots that just break the surface. Underwater housings are used when the camera must be fully submerged in the water for long periods of time. Splash bags offer temporary protection and convenience whereas underwater housings offer more comprehensive camera protection and advanced shooting capabilities.
Splash Bag Benefits and Considerations
Splash bags have certain advantages that underwater housings do not:
- Portability: Splash bags are made of polyurethane which makes them easy to handle and transport.
- Efficiency and Ease of Use: Once the bag is tested for leaks on set, the camera slides into the bag, gets zipped up, and is ready to shoot. If the camera needs a lens change, you take the camera out, change lenses, and put it right back in. When you are done with the water scenes, you can take the camera out and continue shooting as normal.
- Adaptability: Splash bags are less camera specific than housings since they fit different types of cameras inside.
- Cost-Effectiveness: Splash bags are the less expensive option when it comes to protecting your camera from water.
While Splash Bags have many benefits, there are a few main things to consider:
- Fragility: Since splash bags are made of polyurethane, they must be handled with care. This means avoiding concrete or hard surfaces that can puncture the bag when not in use. If there are any sharp parts of the camera, putting the camera in and taking it out should be done with care.
- Leaks: While all of our equipment is tested in our shop prior to your production date, the bag should be tested the day of without the camera inside. The zippers should be lubricated properly and the air release valve should be closed.
- Depth: While some splash bags can be submerged underwater, they should not be underwater all day. We always suggest and recommend a hard case housing anytime submerging more than a couple of feet.
- Lens Control: Since there are no controls on the splash bag, camera control must be done through remote lens control.
Underwater Housing Benefits and Considerations
There are many benefits that underwater housings provide:
- Durability: Since housings are made from aluminum, they are more durable than splash bags. You won’t have to worry about puncturing a housing.
- Protection: Housings are more secure and cannot leak in the same way a splash bag can. They can also be underwater for longer periods of time.
- Depth: While the ASL Splash Bags are verified for 3-4 ft max, housings can typically shoot in depths past 100 ft.
- Lens Control: Housings are specially designed for a specific camera with lens and camera controls on the outside of the housing (not including the Hydroflex).
Below are some points to consider prior to your production date:
- Leaks: While housings are generally more secure against leaks, the seals and O rings must be checked and tested before going into the water with the camera. Inspect for dirt or cracks and make sure the O rings are in their proper position. When closing the latches on the housings, it is best to do all of them at the same time. If that is not possible, closing them in a criss-cross fashion is best.
- Camera Specific: With the exception of the Hydroflex, a housing is generally camera specific. For example, you cannot put a RED V-Raptor into an ARRI Alexa 35 Housing. Instead, you would need a RED V-Raptor Housing.
- Lens Control: The operator can have full focus, iris, and zoom control on the housing itself or a remote lens control can be used topside. Since wireless signals do not transmit underwater, external lens control must be wired. With the Hydroflex housing, there are no physical camera controls on the housing and thus camera control must be done topside through a lens control system.
- Time: The camera must be stripped of all accessories before being set up inside the housing. If you need to change lenses, you have to:
- Release the vacuum seal from the housing in order to open it
- Work around the space constraints of the housing in order to change the
lens - Set the lens control gears back up
- Seal the housing by pumping out the air from inside (either with the provided
electronic vacuum or manual pump).
Since time is the biggest limitation with housing, it’s best to have an extra
camera body on set that can reside in the housing all day.
Proper Maintenance and Care
Cleaning and drying are the best ways to ensure the longevity of splash bags and underwater housings. If you are shooting in salt water, rinse the gear with fresh water when you’re done and dry it as quickly as possible. Before opening a splash bag or housing, have a towel or compressed air nearby to dry any extra water that could drip onto the camera.
The Impact of Heat
Whether your camera is sealed in a splash bag or underwater housing, the heat from the camera recirculates inside, making the camera even hotter. If you’re shooting in cool water, the water outside of the housing will pull some of the heat out. It’s important to keep the sealed housings and splash bags out of the sun. When the cameras are not in use, unseal them away from the water in a shaded area to allow the heat to dissipate, if possible.
Tailoring Solutions to Your Needs
Air Sea Land is the largest production and rental house for Professional Underwater camera gear in the North East, US. With our extensive knowledge of different models and brands, we can provide tailored options for filmmakers based on their project requirements. Whether it’s working within a certain budget or finding solutions to fit your specific case, we are happy to guide you to the best solution. You can check out our inventory here.
Our rental process can be done online or over the phone. We recommend:
- Reading the manual of the equipment you are renting prior to booking it
- Scheduling a check out day so we can assist you in set up and troubleshooting
- Booking a tech who can assist you with the gear on set
If you encounter any issues with the equipment, or have general questions or concerns,
please do not hesitate to reach out!
If you’d like to learn more about the common challenges encountered in underwater shooting and practical solutions to ensure successful productions, check out our article here.
If you’re interested in the safety challenges encountered in underwater shooting and the key considerations when deciding to hire an expert, check out our article here.